Hiking Training: How to Get Fit for Hiking in Vancouver This Spring
Spring is about 8–10 weeks away.
The days get longer. The rain backs off. And suddenly everyone in Vancouver starts talking about mountains again. For some, it’s a multi-day objective. For others, it’s the Grouse Grind — the benchmark that seems to define whether you’re “in shape.”
Let’s be honest. The Grind is the thing people fixate on. 2,830 stairs. Straight uphill. No descent. No breaks.
This hiking training plan will absolutely get you ready for the Grouse Grind.
But more importantly, it will get you ready for everything beyond it, longer North Shore days, the Chief, rolling terrain, and even multi-day efforts like the West Coast Trail. The Grind is the entry test. Durable hiking fitness is the real goal.
If you’re a middle-aged weekend warrior juggling work and family, this 8-week window is your opportunity to build capacity the right way.
Why Hiking Training Is Different Than “Just Doing More Stairs”
Most grouse grind training advice is simply: “Do more stairs.”
That’s part of it.
But if your hip flexors are locked up from sitting all winter and your quads haven’t handled eccentric load in months, more stairs just means more compensation.
Hiking is strength endurance under load.
Uphill: glutes, hamstrings, calves, and hip flexors drive each step.
Downhill: quads work eccentrically to absorb force.
Technical terrain: glute med, ankle stabilizers, and core control every step.
If those systems aren’t prepared, stress shifts to joints and tendons. That’s when knees get irritated and hips feel jammed halfway through a hike.
A proper hiking workout builds muscular capacity so your joints don’t have to absorb what your muscles can’t handle.
The Hip Flexor Exercises Every Hiker Needs
If there’s one muscle group that gets neglected, it’s the hip flexors.
You sit most of the winter. They shorten. They stiffen. And often they get weak in their lengthened range.
Then spring hits and you ask them to lift your leg thousands of times uphill.
Tight hip flexors can increase anterior pelvic tilt, reduce glute activation, and contribute to lower back discomfort. Weak hip flexors fatigue early, forcing compensation through the spine or quads.
This is why hiking training needs both:
Stretching to restore hip extension
Strengthening to build endurance
When hip flexor exercises are included consistently, climbing becomes smoother and less taxing.
The Hiking Workout: Core Exercises
These are the movements that consistently transfer to the trail.
Step-Ups – 3–4 sets of 6–12 reps per leg
Goblet Squats or Reverse Lunges – 3–4 sets of 6–10 reps
Single-Leg RDLs – 3 sets of 6–8 reps per side
Calf Raises – 3–4 sets of 12–20 reps
Banded Hip Flexor March – 3 sets of 10–15 reps per side
Half-Kneeling Hip Flexor Stretch – 2–3 sets of 30–45 seconds per side
Control the lowering phase on strength exercises. That eccentric control is what protects your knees on descents.
8-Week Hiking Training Plan (With Specific Sets & Reps)
You don’t need fancy programming. You need progressive overload and consistency.
Weeks 1–4: Build the Base (2 Days Per Week)
Focus on moderate loads, clean movement, and controlled tempo (2–3 seconds on the lowering phase).
Monday – Lower Body Strength Focus
Step-Ups – 3 sets x 8 reps per leg
Goblet Squats – 3 sets x 8 reps
Single-Leg RDL – 3 sets x 6 reps per side
Standing Calf Raises – 3 sets x 15 reps
Half-Kneeling Hip Flexor Stretch – 2 x 30 sec per side
Rest 60–90 seconds between sets.
Wednesday – Stability & Capacity
Reverse Lunges – 3 sets x 8 reps per leg
Banded Hip Flexor March – 3 sets x 12 reps per side
Single-Leg RDL – 3 sets x 8 reps per side
Seated or Bent-Knee Calf Raises – 3 sets x 15–20 reps
Core (Plank or Dead Bug) – 3 sets x 30–45 seconds
Hip Flexor Stretch – 2 x 30 sec per side
Optional Friday (Low Intensity Conditioning)
20–30 minutes incline walking or stair climbing at moderate pace
Finish with mobility work
Keep 1–2 reps in reserve on strength work. Build gradually.
Weeks 5–8: Build Capacity (3 Days Per Week)
Increase load by 5–10%. Slightly increase volume. Add longer aerobic efforts.
Monday – Heavier Strength Day
Step-Ups (higher box if possible) – 4 sets x 6–8 reps per leg
Goblet Squats – 4 sets x 6–8 reps
Single-Leg RDL – 3 sets x 8 reps per side
Standing Calf Raises – 4 sets x 15 reps
Hip Flexor Stretch – 2 x 45 sec per side
Rest 90 seconds between heavier sets.
Wednesday – Volume & Endurance
Reverse Lunges – 3 sets x 10 reps per leg
Banded Hip Flexor March – 3 sets x 15 reps per side
Step-Ups (lighter, higher reps) – 3 sets x 12 reps per leg
Seated Calf Raises – 3 sets x 20 reps
Plank Variations – 3 x 45–60 seconds
Friday – Conditioning Day
30–40 minutes incline walking, stair machine, or outdoor hill work
Every 5 minutes, increase intensity slightly
Finish with hip flexor and calf mobility work
On weekends, begin adding progressively longer hikes. Start with 60–90 minutes and build toward 2–3 hours.
By week eight, stairs — including those on the Grouse Grind — should feel significantly more manageable.
Beyond the Grind: Where This Training Takes You
The Grouse Grind is the benchmark. If your quads and hip flexors aren’t ready, you’ll feel every step.
But this hiking training opens up more than just one climb.
Stawamus Chief – Steep stairs and scrambling.
Lynn Peak – Sustained incline and technical footing.
Diez Vistas Trail – Rolling terrain and longer duration.
Mount Cheam – Sustained elevation and exposure.
Dog Mountain – Strong early-season benchmark.
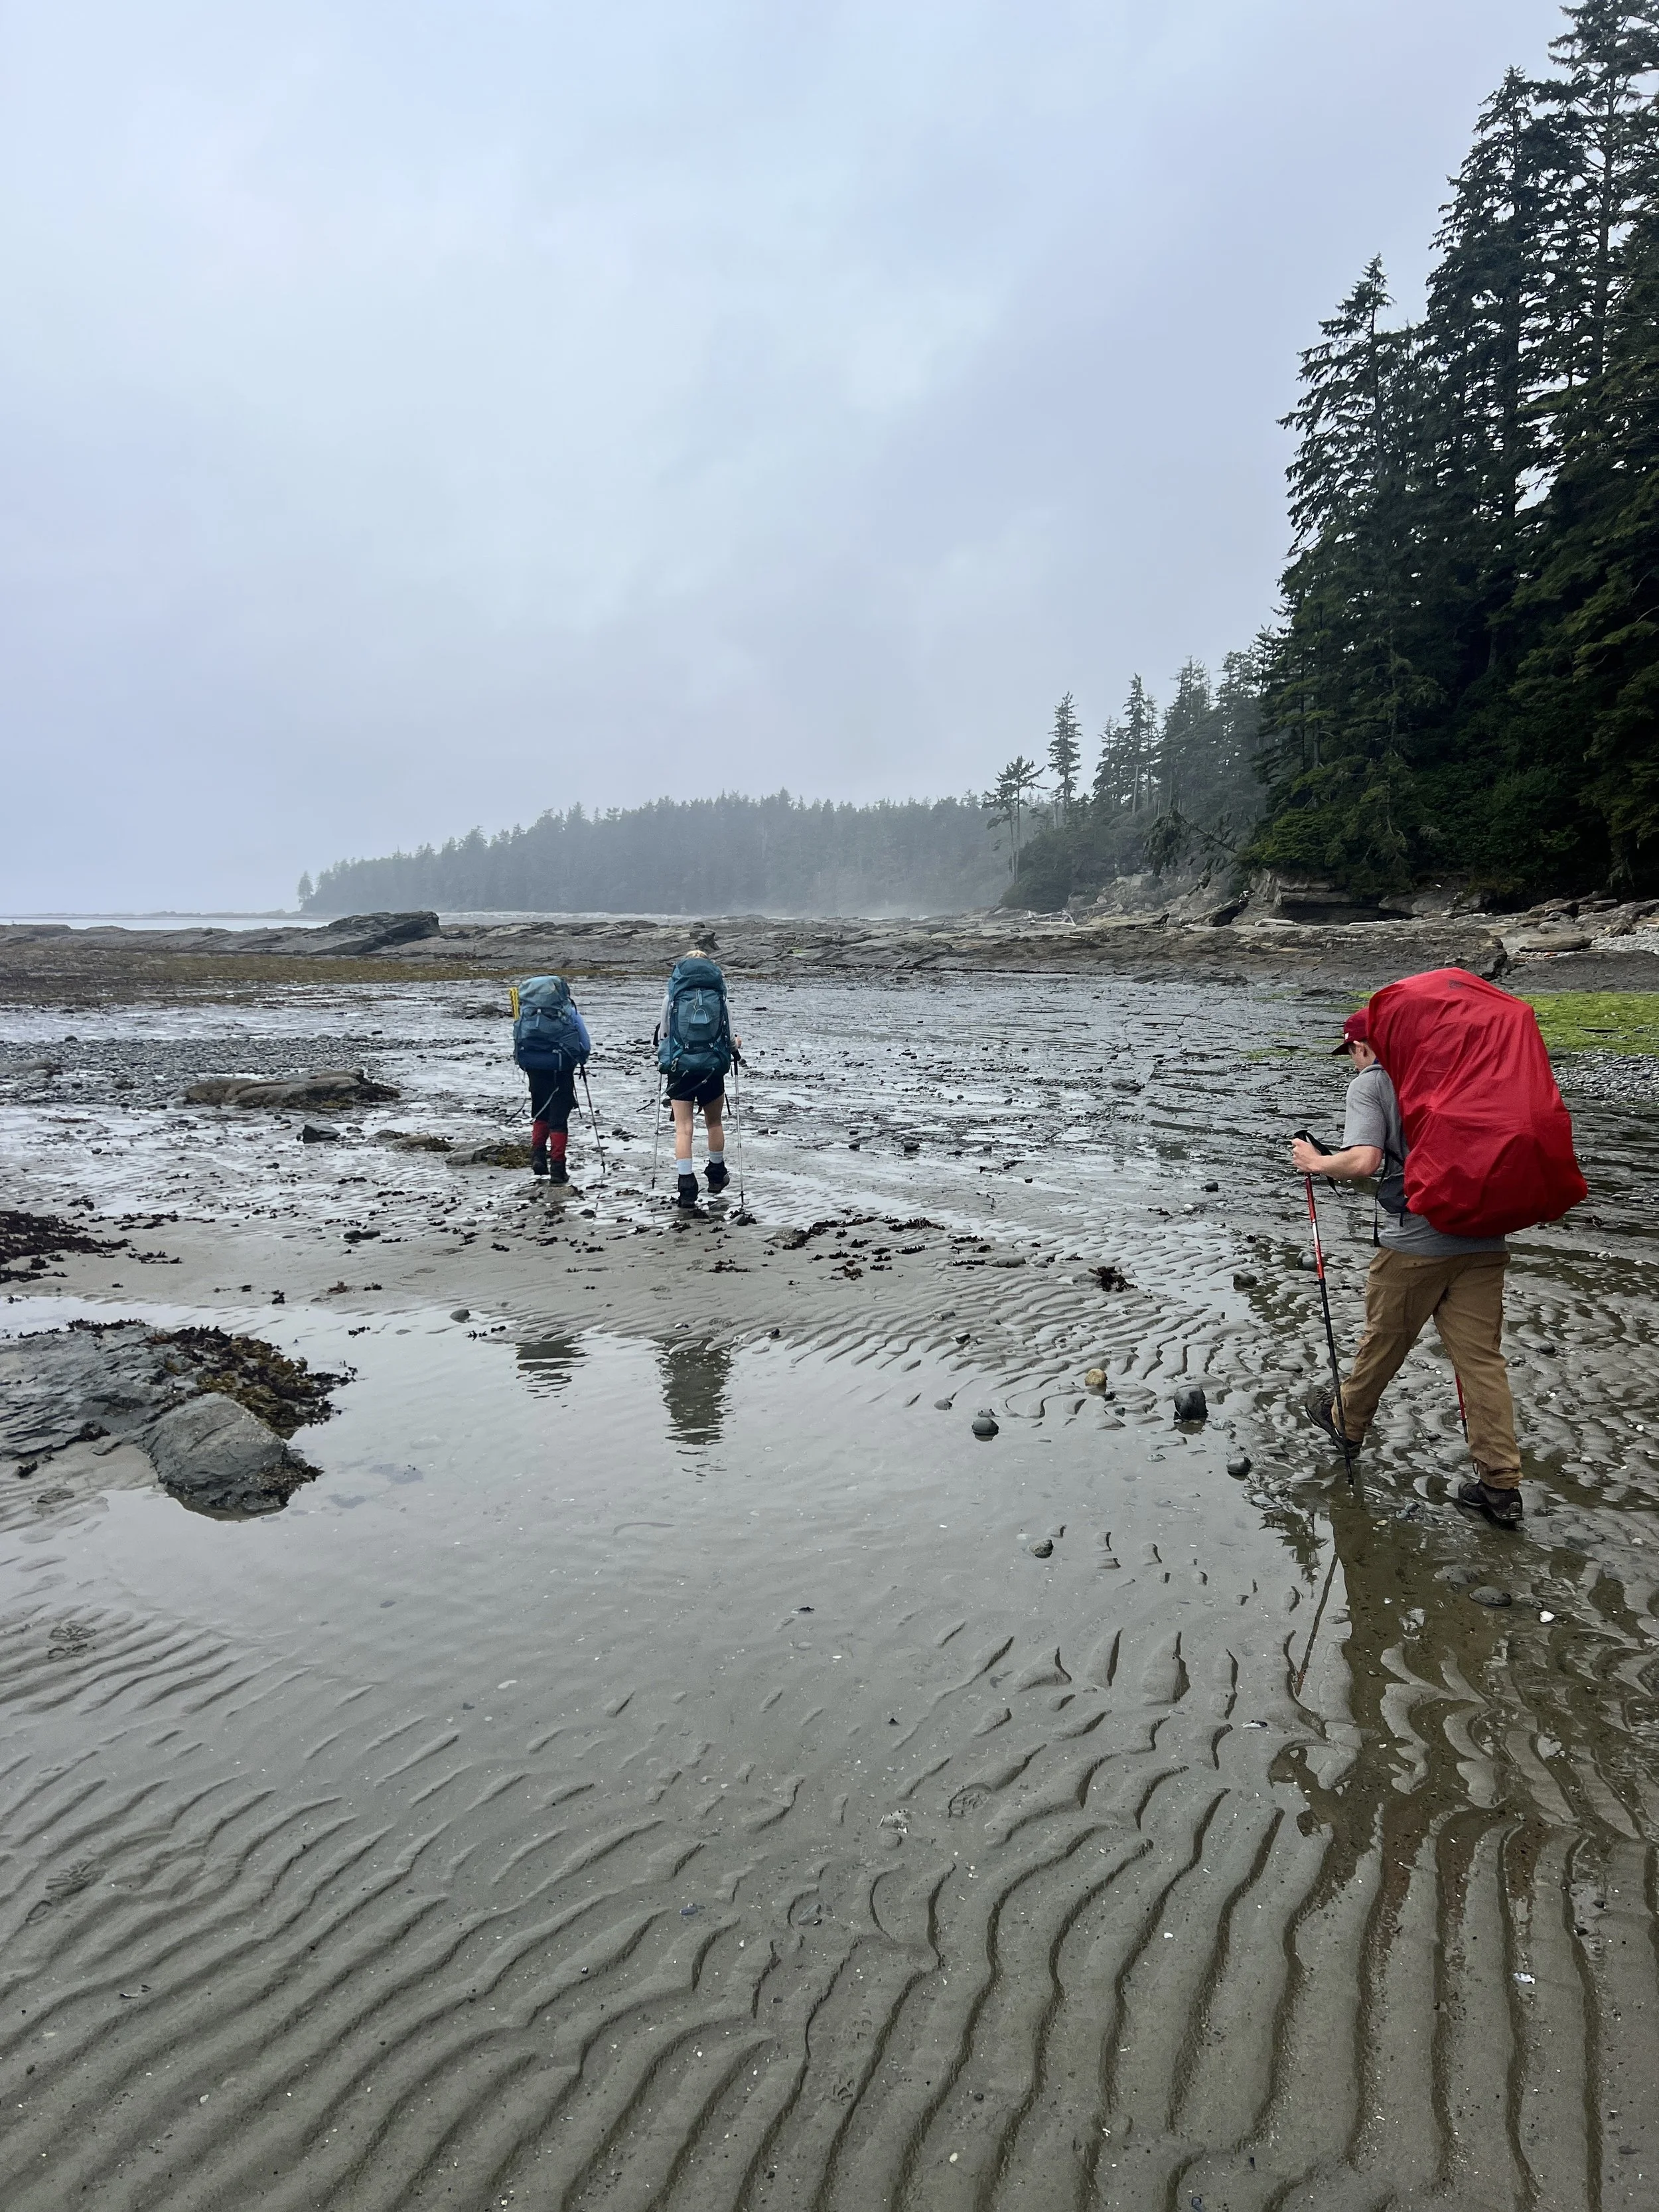
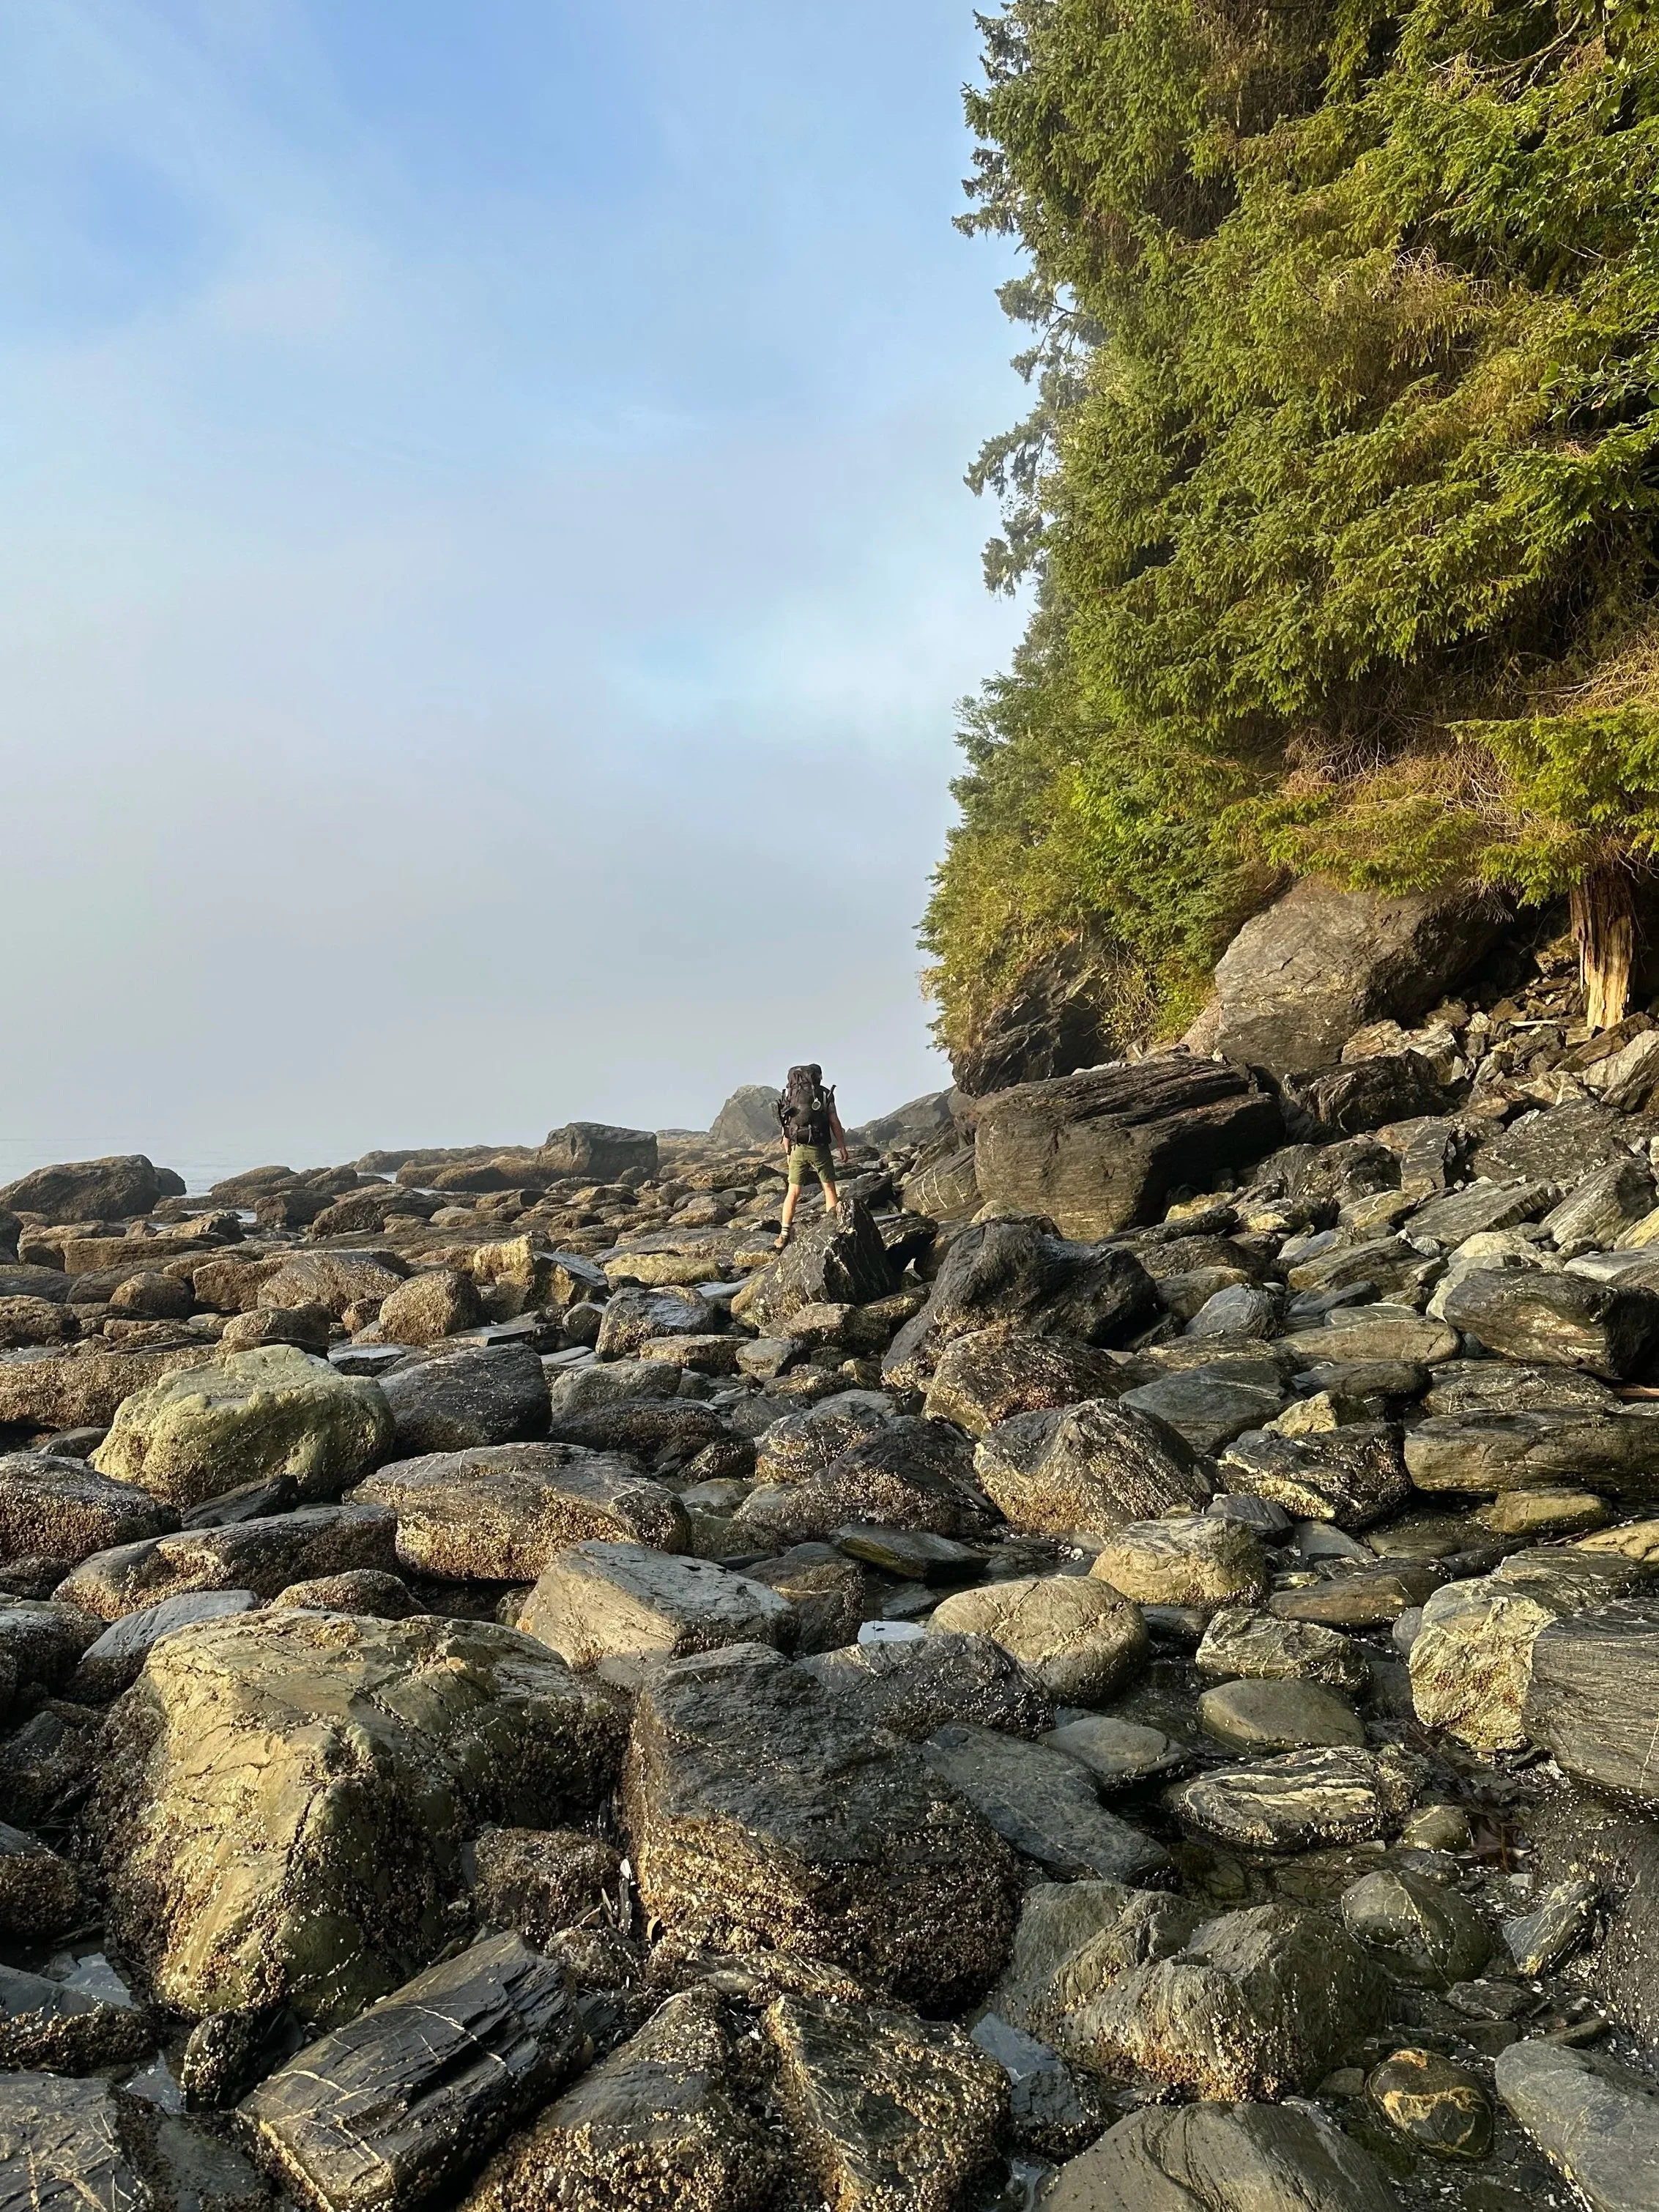
Last summer on the West Coast Trail, hiking 7–8 hours per day under load showed me something clearly: being “gym fit” is not the same as being trail durable. The difference is strength endurance and joint capacity built over time.
The Real Goal: Durable Hiking for the Next 20 Years
The objective isn’t just conquering the Grouse Grind once.
It’s hiking consistently without chronic knee pain, stiff hips, or back flare-ups.
Structured hiking training improves joint stability, muscle retention, and movement efficiency as we age. Hiking builds endurance. Pair it with a smart hiking workout and you build durability.
Eight weeks from now, you can either feel strong on the trail — or be rebuilding mid-season.
Start now.
Reach out if you would like more information or need help getting the ball rolling uphill:)
See you on the trails!